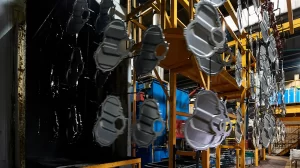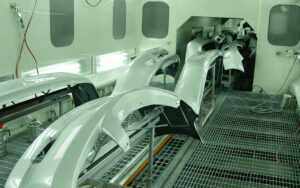
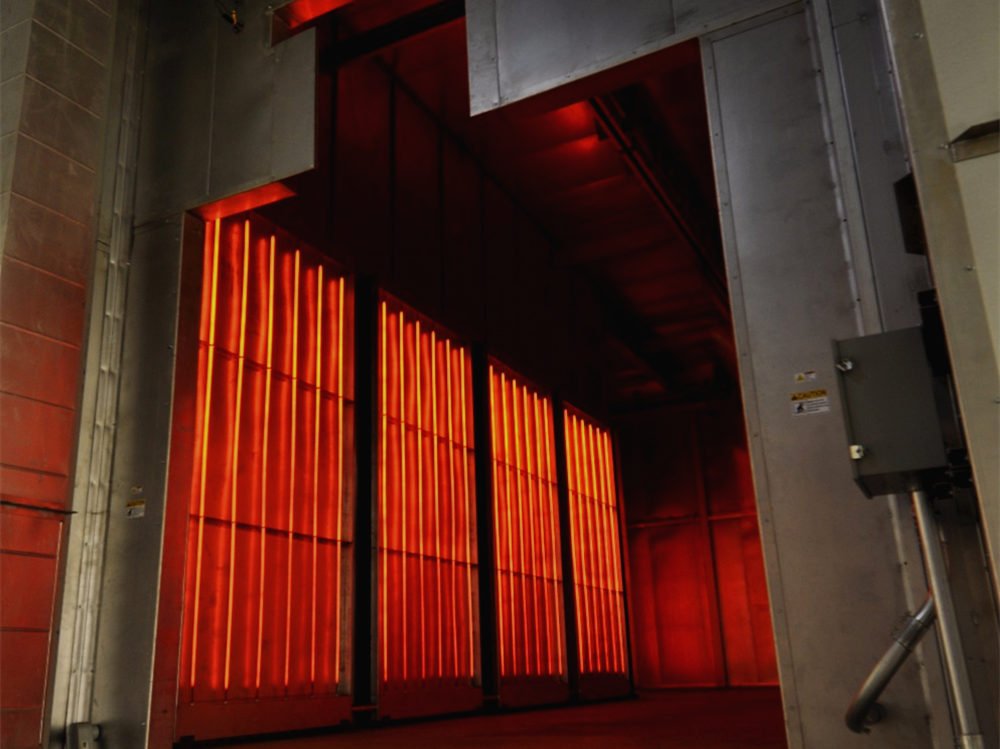
Electrocoating delivers exceptional corrosion protection and uniform coverage on metal substrates, making it vital for demanding industrial applications. However, this performance hinges on a critical step: the curing oven, where the wet film transforms into a durable finish. Precise control here is non-negotiable; deviations can lead to costly defects like bubbles and craters that compromise coating integrity.
These flaws directly undermine corrosion resistance and aesthetics, causing scrap and rework. Preventing bubbles and craters is therefore essential for electrocoating quality and efficiency. This article focuses specifically on optimizing your electrocoating curing oven process – outlining key strategies to eliminate these defects and achieve flawless results.
Understanding Bubbles and Craters: Flaws in the Electrocoating
Bubbles (blisters/pinholes) form when gases—trapped during substrate preparation, electrocoating deposition, or rinsing—expand violently during oven curing. These appear as raised domes or tiny holes within the coating layer, exposing bare metal.
Craters manifest as small, saucer-shaped depressions (0.1–2mm wide) with material pulled away from the center. They occur when surface contaminants (oils, silicones, dust) disrupt the coating’s flow during curing, creating hydrophobic “dead zones” where the liquid film retracts.
Both defects critically compromise electrocoating performance:
- Bubbles breach coating continuity, allowing corrosion to penetrate.
- Craters expose substrate edges and trap moisture.
- Result: Reduced corrosion resistance, cosmetic rejects, and costly rework.
Visual Tip: Bubbles appear in the film; craters form on the surface. Both signal curing-process failures.

Let's Have A Chat
Get An E-coating Line Planning !
Match Your Products, Get The Solution & Price..
Why Defects Occur During Electrocoating Cure
- Substrate Contamination
Residual oils, grease, silicones, or poorly rinsed pretreatment chemicals create hydrophobic spots on the metal surface. During electrocoating cure, these contaminants repel the liquefied film, forcing it to retract and form distinct craters. Similarly, porous substrates like castings or rough welds trap air or moisture. When heated rapidly in the oven, this entrapped gas expands violently, rupturing the coating to create bubbles or pinholes.
- Bath & Rinse Failures
Contaminants in the electrocoat bath itself – such as oils, solvents, or degraded resins – migrate to the coating surface during thermal curing. These impurities locally reduce surface tension, causing the liquid film to pull away and solidify as craters. Inadequate deionized water rinsing leaves dissolved salts or surfactants on the deposited film. As the curing oven ramps up temperature, these residues vaporize explosively, blasting through the coating to generate bubbles.
- Entrapped Volatiles
Insufficient drainage time after rinsing stages allows water droplets to cling to parts, especially in pockets or complex geometries. Air pockets can also become trapped in hollow sections or overlapping seams during tank immersion. When entering the curing oven, these liquid or gaseous volatiles expand aggressively as temperatures rise. If not gradually released, they burst through the coating layer, creating bubbles or blowouts.
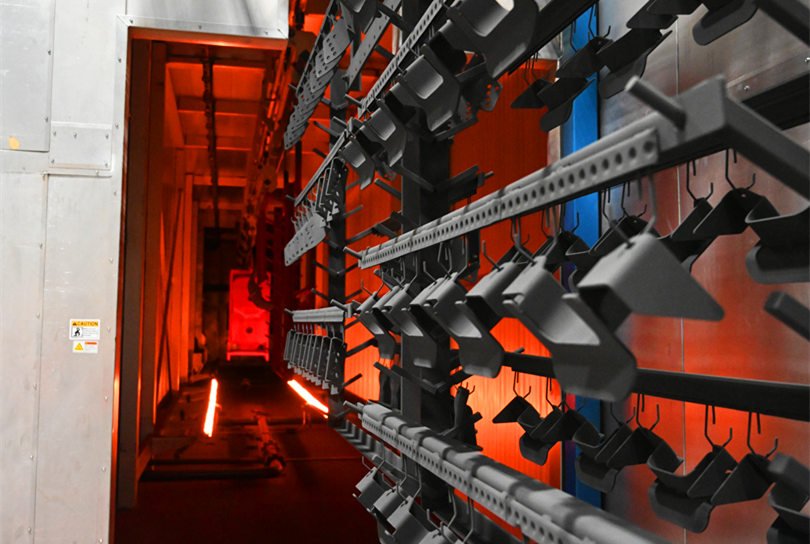
- Oven-Specific Culprits
Fast ramp rates are a primary bubble trigger: rapid temperature spikes vaporize solvents/moisture faster than the film’s viscosity allows escape, trapping gas beneath a prematurely skinned surface. Insufficient pre-heat zones exacerbate this by denying volatiles a low-temperature escape path. Non-uniform oven temperatures cause cold spots (incomplete cure → trapped gas) and hot spots (surface skinning → bubble entrapment). Turbulent airflow disrupts the delicate wet film before gelation, creating flow disturbances that solidify as craters, while poor exhaust ventilation allows solvent re-condensation.
Essential Steps for Bubble and Crater Prevention in Electrocoating
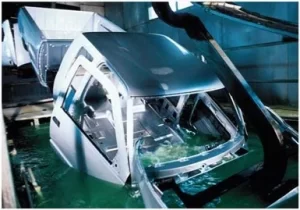
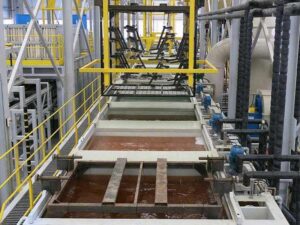
Preventing bubbles and craters demands rigorous control before the curing oven and precision optimization within it. Start by ensuring immaculate substrate preparation: implement strict pretreatment protocols and thorough deionized water rinsing to eliminate contaminants that cause craters. Maintain bath chemistry integrity through regular monitoring (pH, conductivity, temperature) and ultrafiltration to remove oils/solvents. Allow sufficient drainage time post-rinsing—consider air knives for complex parts—to prevent volatile entrapment.
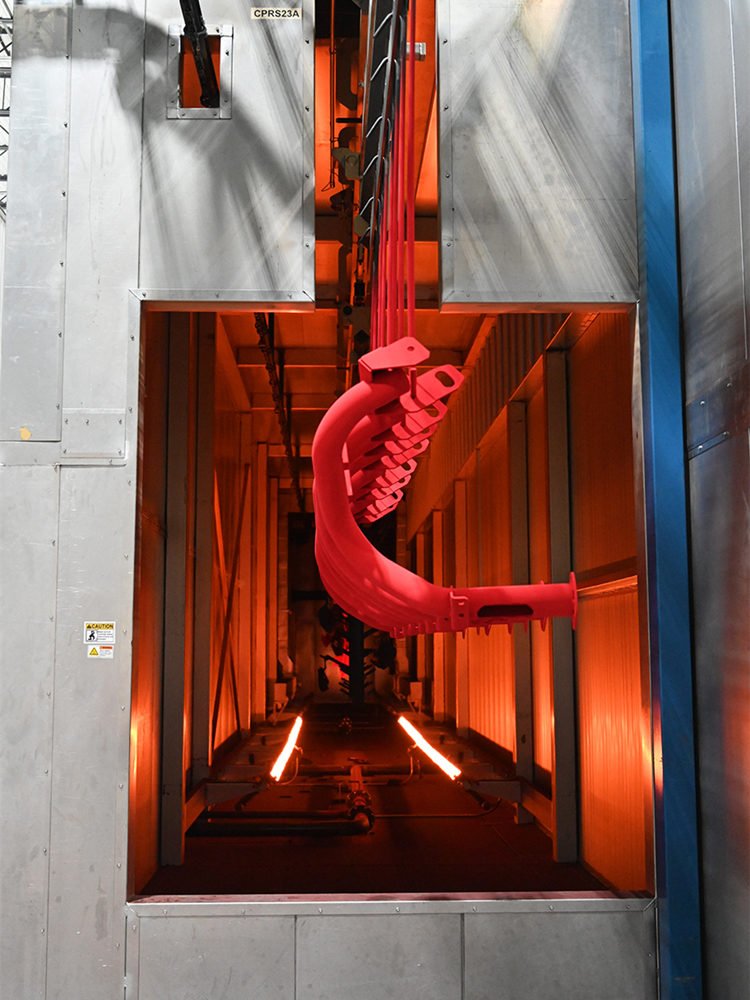
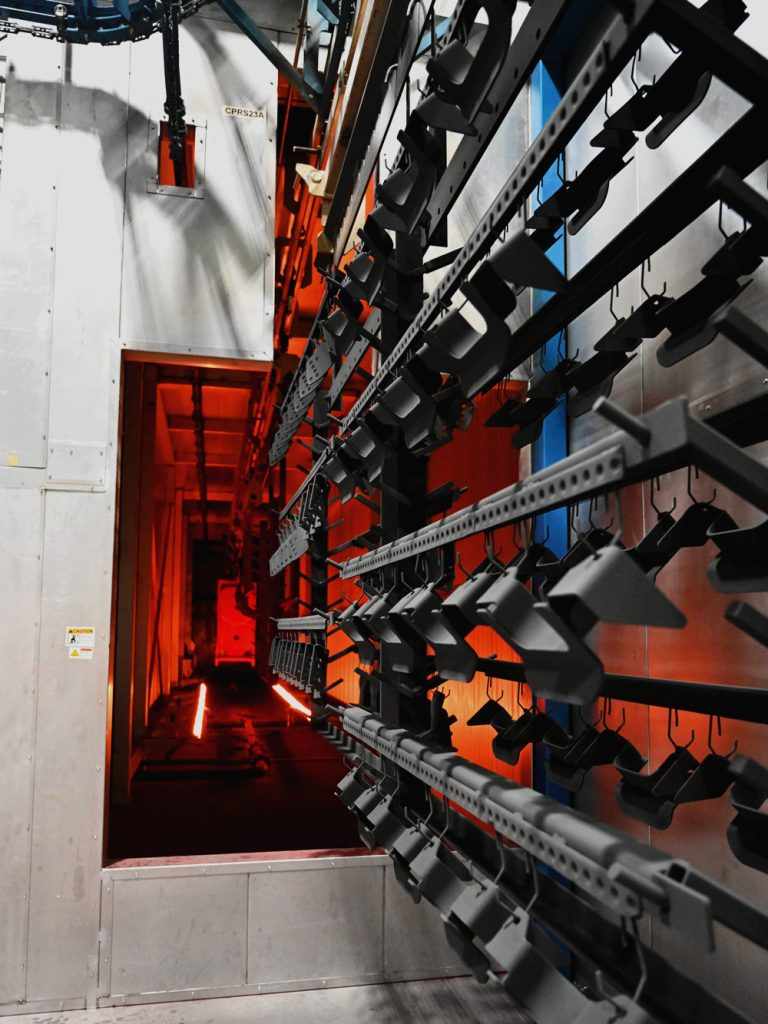
The curing oven itself is your decisive control point. Implement gradual, multi-stage ramp rates to allow gentle vapor release before film gelation. Design ovens with a dedicated pre-heat zone at 80–110°C for solvent/moisture evaporation. Ensure laminar, uniform airflow across all parts—avoiding turbulence that disrupts wet films—and balance supply/exhaust to evacuate volatiles.