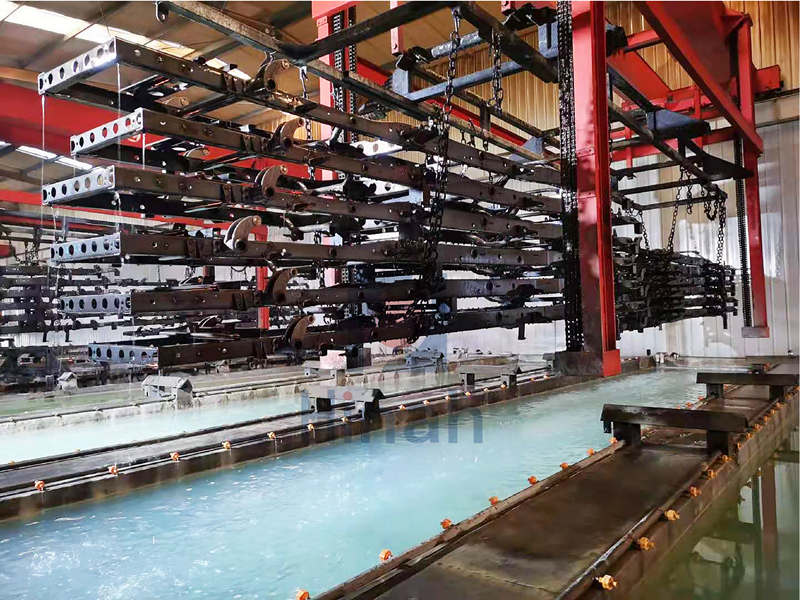
Sixty steel brackets leave the oven in one rack, each leg carrying the same four pale bands in the same place. The gauge reads thin film under every band, yet the bath tests normal and the same paint coats a flat panel with no mark. E-coat streaks record something that happened to one strip of a part, at one moment, before the film set.
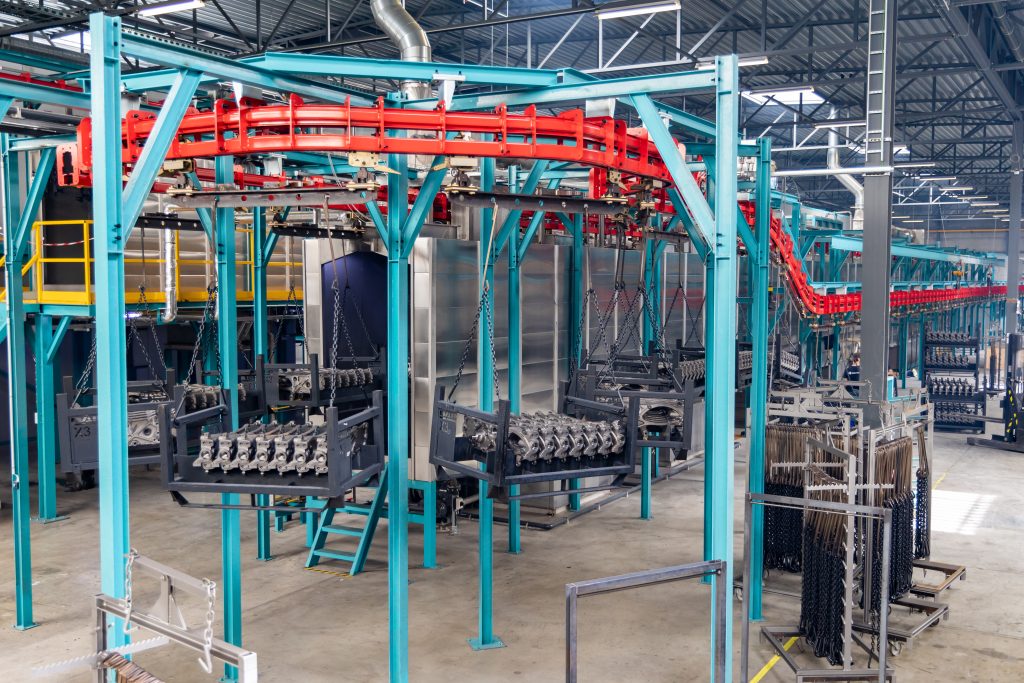
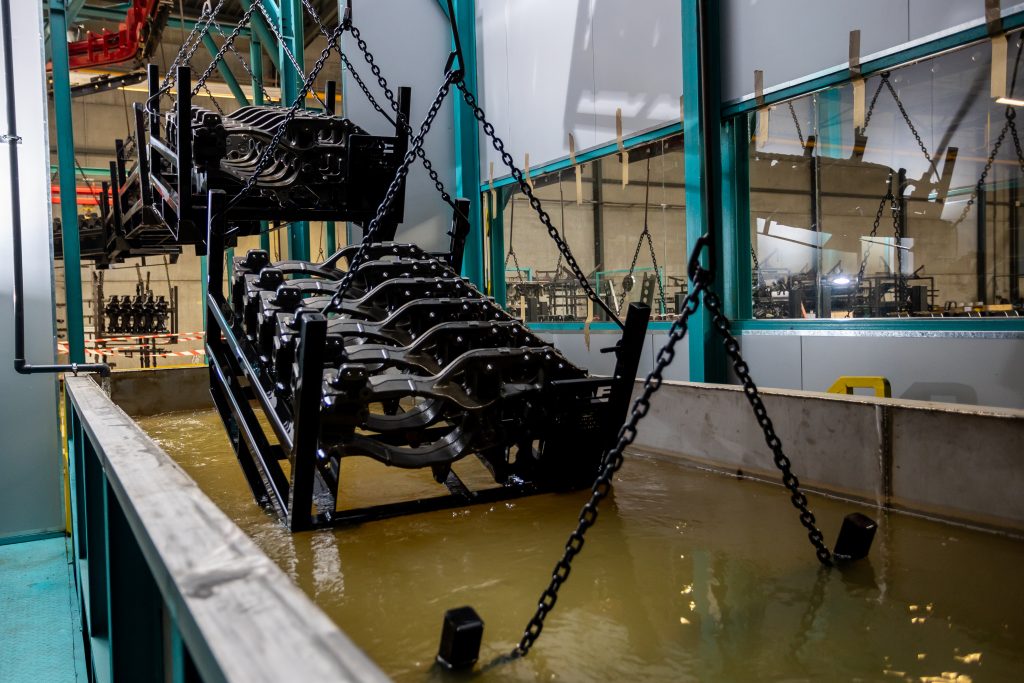
What E-Coat Streaks Look Like
An e-coat streak is a band, not a spot.
It runs one way, it repeats on parts hung the same way, and it still carries film — just less of it, or film that flowed before it set.
| Defect | Appearance | Points to |
|---|---|---|
| E-coat streak | Band, one direction, repeats by rack | Local current, wetting, flow |
| Orange peel | Even pebbled texture | Leveling or film build |
| Pinhole, crater | Isolated points | Gas, contamination |
| Bare area | No film | Contact, shielding, trapped air |
Orange peel is the usual confusion: it has no direction, while a streak does.
Why the Film Grows Unevenly
Electrocoat deposition is self-limiting.
As film builds, resistance rises and growth slows toward a ceiling. New Jersey Institute of Technology work describes that plateau, which explains why e-coat streaks form early. The film lays down most of its thickness in the first two minutes. A few seconds of wrong conditions at the start leaves a difference that never evens out. Current density decides where growth runs fastest, so a gas pocket or a dry patch writes a line no later stage can erase.
Cause 1: Air and Gas Held Against the Surface
Parts enter the bath with air on them.
A channel, a hem or an upward-facing pocket holds it, so the metal underneath stays dry while the rest coats. The pocket wets seconds later, and the band under it ends up thin. Entry angle and speed decide how much air survives the plunge. A bracket slid in flat traps far more than one tipped in on its leading edge, and most e-coat streaks on complex parts start in that second.
Hydrogen adds a second source.
The cathodic reaction releases hydrogen at the surface, and bubbles that cling instead of lifting away change local current density. Brigham Young University studies of early film growth link that gas to uneven deposition. Because the film sets quickly, a bubble that sits for twenty seconds leaves a mark that survives every rinse.


Cause 2: Rinse and Drag-Out Patterns
The UF rinse has to take drag-out off the wet part before it dries.
A nozzle that hits the part at an angle writes the band you see later. Worn tips, overlapping fans and a bar set too close leave lines along the spray direction. Drainage adds a related mark. Liquid running to the lowest edge carries solids, so the last inch to dry holds a different concentration. The ultrafiltration rinse loop is where that spray pattern is set, so read it before you touch the bath.
Cause 3: The Oven Makes a Wet Difference Visible
A wet film can hold a thickness difference without showing it.
Heat makes that difference visible. Water and solvent leave during flash-off and the early ramp, and film that is still mobile flows. A thinner band dries first and stops flowing first, so the boundary between flowing and set film hardens into a line.
Supply air that hits one face, uneven zone temperatures and a fast ramp all push the film before it sets. EPA electrocoating training material gives typical cure conditions of 175–190 °C metal temperature for 15–30 minutes. The ramp into that window matters as much as the hold, so the curing oven air balance belongs on the same checklist as the setpoint. Exact settings belong to the supplier’s data sheet and to what the line proves on site.


How to Tell Which Stage Causes E-Coat Streaks
Three checkpoints settle it.
1. Tank exit, before the first rinse. A band here means deposition.
2. After the last rinse. A band here means rinse or drag-out.
3. After flash-off, before the oven. A band here means flow.
Then compare orientation. A band that follows rack position points to the spray bar or oven air. A band that follows the part’s own geometry points to trapped air or a shielded face. One rack and one shift narrow four causes to one.
What Line Design Should Do Differently
E-coat streaks are cheap to prevent on the drawing board.
– Rack design: no pocket facing up, and a tilt that lets air escape on entry.
– Entry: a controlled angle and a slower break through the surface, not a drop.
– Rinse: overlapping fans, tips on a replacement interval, bars set back.
– Drainage: a path off the lowest edge, not across a face.
– Oven air: balanced supply, so no nozzle writes a line on a wet film.
A single tank adjustment rarely clears a streak, because rack, entry, rinse and oven wrote it together.
The Fix Starts With the Part, Not the Paint
Nothing here needs a new paint.
Most e-coat streaks come from air that wetted late, a nozzle aimed at a face, or a wet film that ran before it set. Read the part at each checkpoint and the stage becomes hard to miss. Then the fix is geometry and airflow.