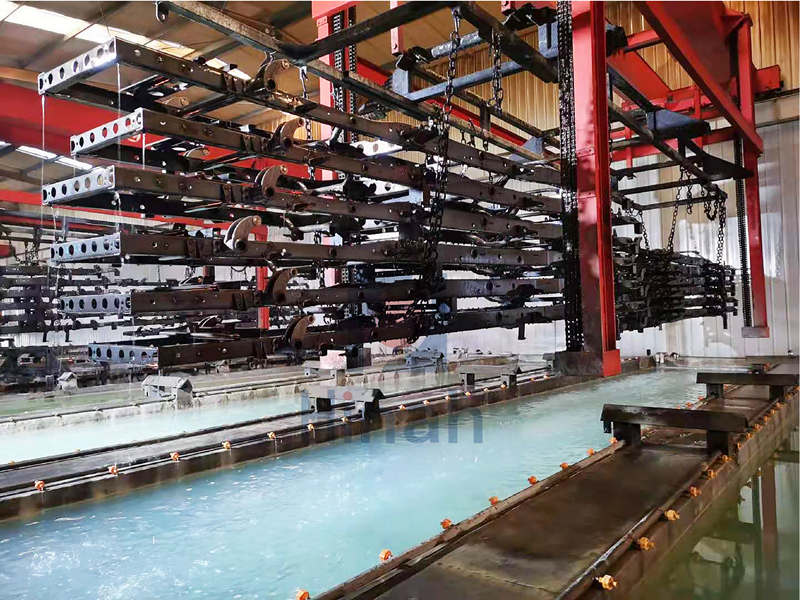
A crater looks like a shallow bowl pressed into the film. The rim sits high, the center is bare, and the paint around it is fine. That contrast holds the first clue: this is a surface-tension problem, not a dirt problem. Something at one small spot pushed the wet film away long before the part reached the oven. On an e-coat line, the cause often sits far upstream of the spot itself.
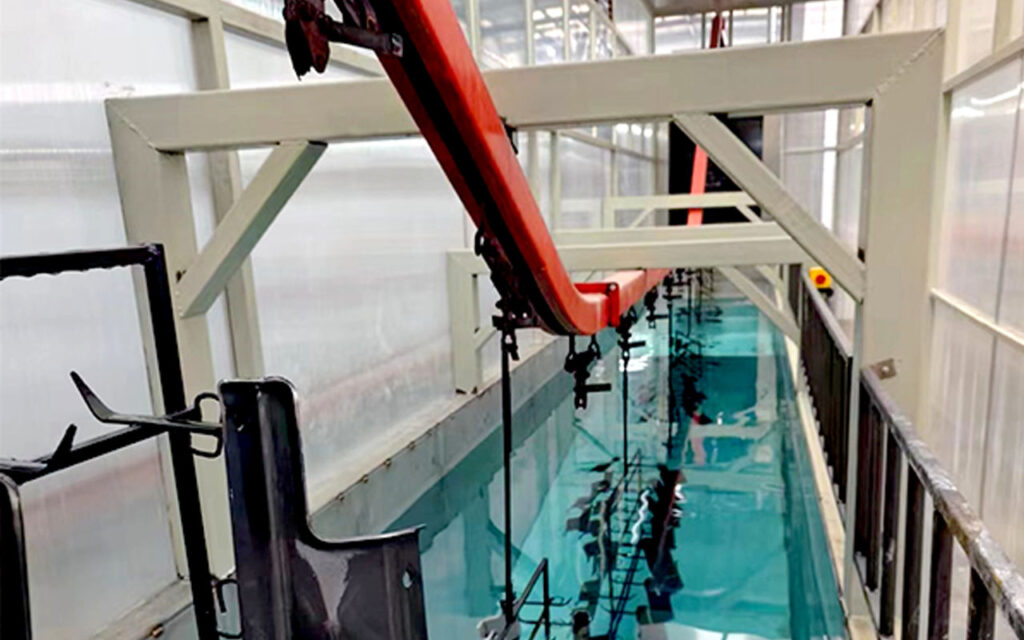
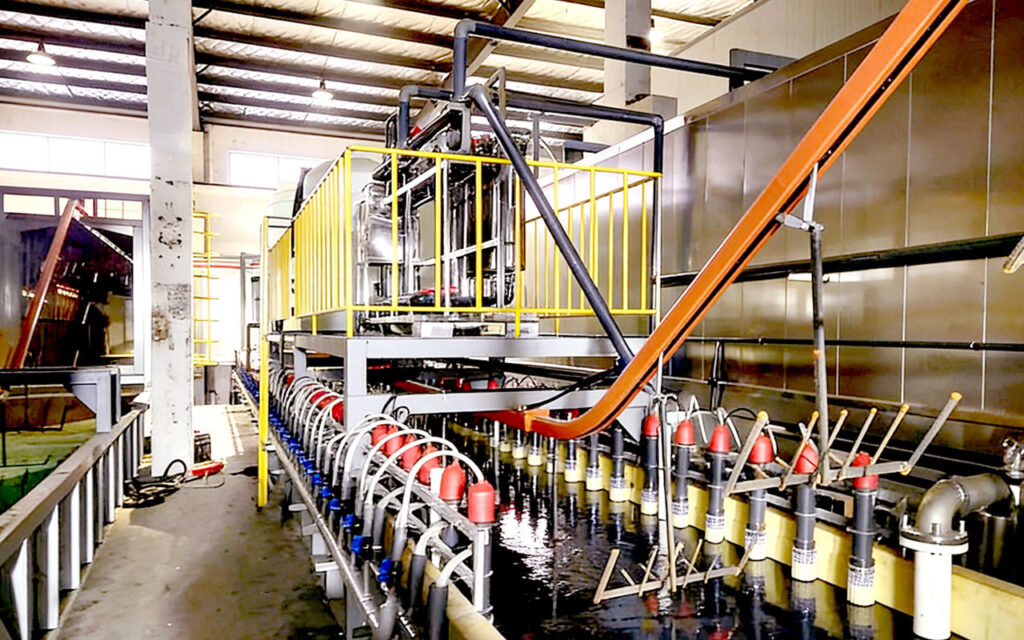
What Happens at the Center of a Crater?
Paint spreads toward higher surface energy.
So when one spot on the part has lower surface tension than the bath around it, the wet film flows away and leaves a bare center. Engineers call this Marangoni flow, and it happens while the film is still wet and mobile. The film then levels again, the rim rises, and the bake freezes the shape in place. Small craters can still heal during the bake, because the film softens and flows before it gels. Large ones cannot, so they stay visible on the finished part.
Why Does an E-Coat Line Produce Craters in Bursts?
A crater needs a low-energy spot, and that spot needs a source.
Oil, grease, silicone, and wax all lower surface tension, because a water-based paint cannot wet them. So the film pulls away instead of covering that area. When craters appear in bursts rather than at random, one event usually sits behind them. It could be a drip of conveyor lubricant, a slug of oily rinse water, or a change inside the bath.
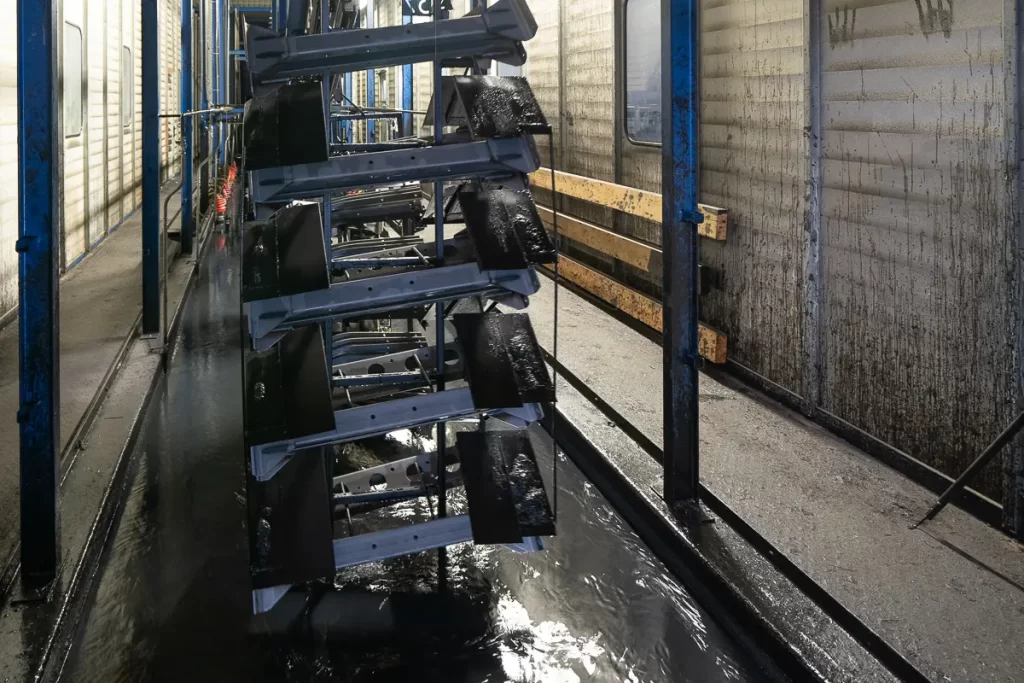
Where Does the Contamination Enter the Process?
Work backwards along the process chain.
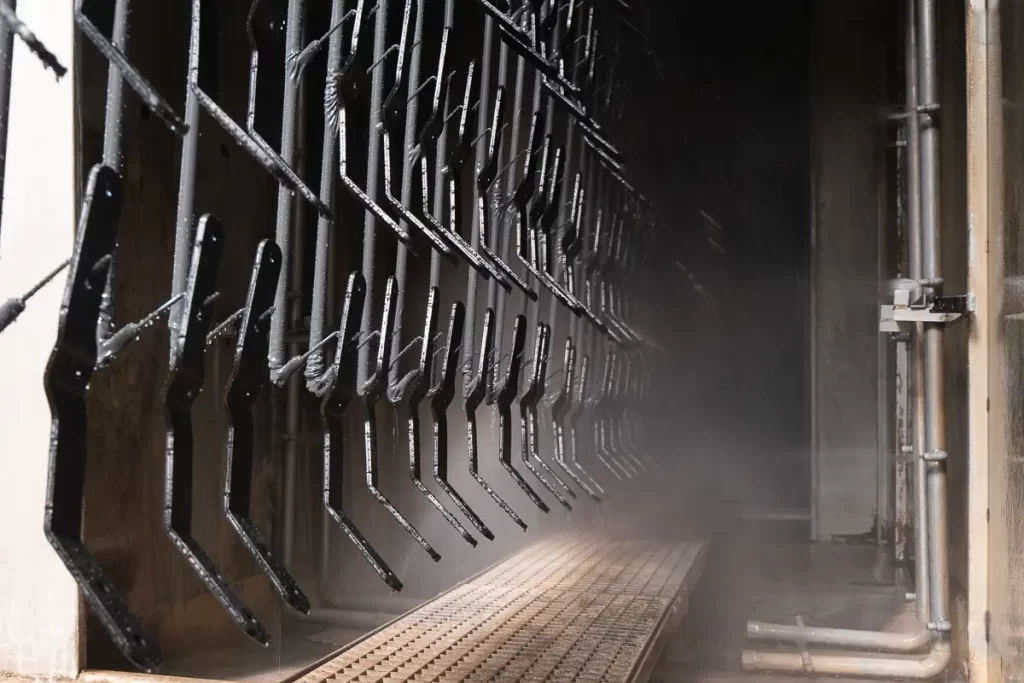
Degreasing is the first gate, so a weak cleaner leaves a film that later stages cannot remove. Rinse water carries oil forward on an e-coat line when the stages run out of balance. Chain lubrication can drip onto parts as they travel toward the tank. Even the DI rinse can hold a floating layer of oil once the skimmer stops working. Very little contamination is enough. Silicone spreads across a surface until it forms a layer one molecule thick, so a tiny source can spoil a large area.
The bath is the second gate, and it collects whatever the rinses miss. A foam layer traps airborne oil. An aged bath changes on its own. In one electrodeposition study, cratering began after the low-boiling solvent evaporated from the paint, roughly a day after mixing.
Do Process Settings Make Cratering Worse?
Some settings raise the risk on an e-coat line.
Work from the 1980s, reviewed later in Paint & Coatings Industry, showed that crater density climbed with higher applied voltage and shorter anode-to-cathode distance. The same research found the threshold voltage for cratering dropped as bath temperature rose, because a warm bath conducts better and concentrates current. Hydrogen plays a part too: cathodic deposition releases gas at the part, and trapped bubbles leave voids that the bake cannot fill. Substrate matters as well. Galvannealed and zinc-rich steel crater at lower voltages than cold-rolled or galvanized steel, because their surface conductivity varies and current crowds into small areas.
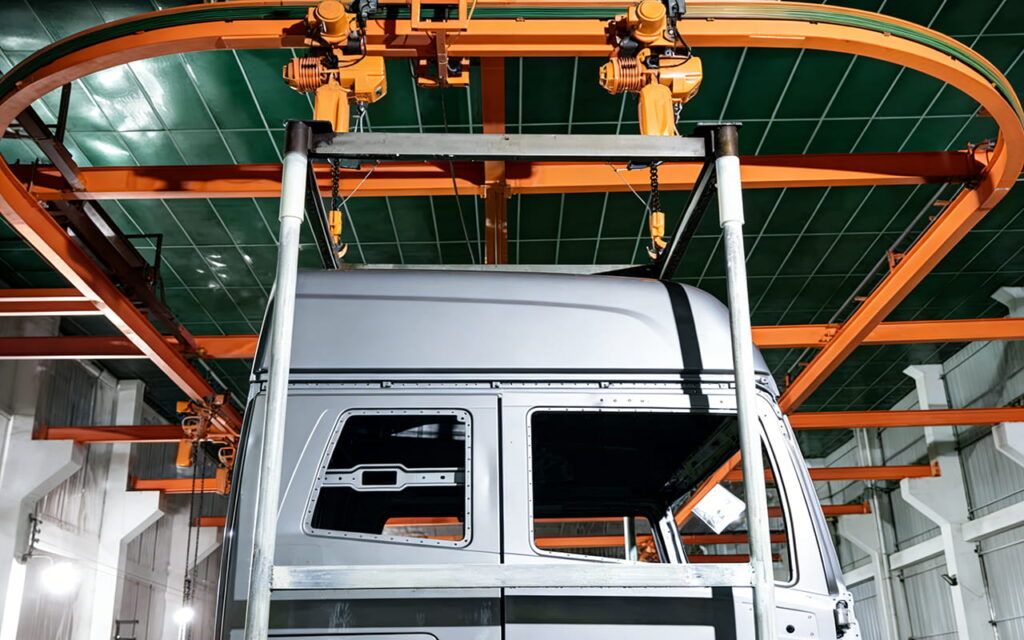
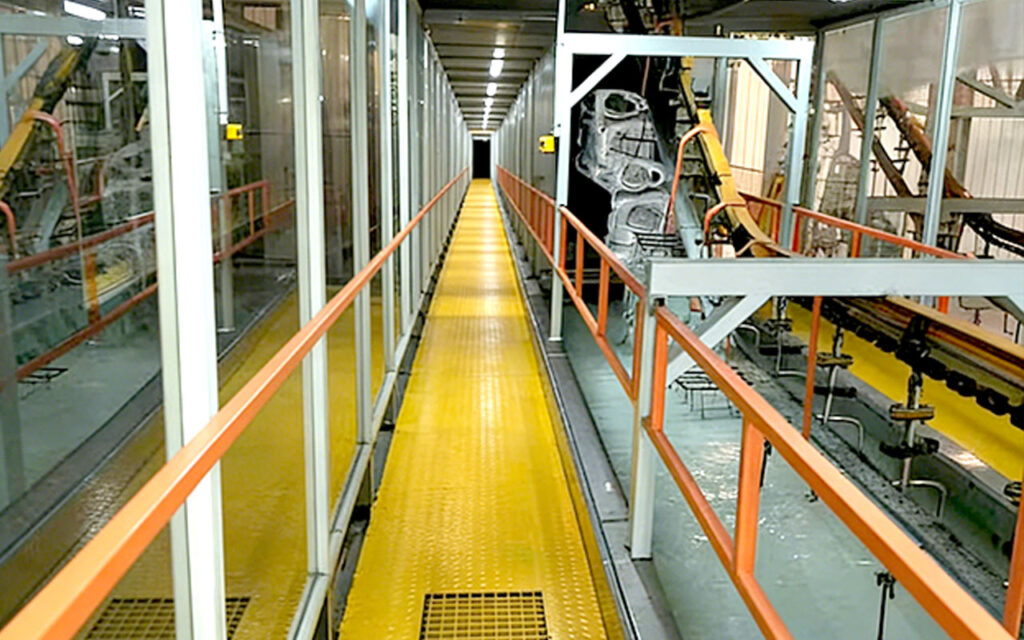
How Do Craters Differ From Pinholes and Bare Spots?
Craters, pinholes, and bare spots often land in the same shift report on an e-coat line, yet each one points to a different stage.
A crater has a raised rim and a bare center with intact film around it. A pinhole is a small hole with no raised edge, and it usually traces back to gas that broke through the film. A bare spot is larger and follows the shape of the part, so cavities, weak rack contact, or shielding cause them. Check the shape first, then the location. Craters appear anywhere on the part, while bare spots follow geometry and racking. The fix differs too. Chasing a crater with more voltage makes it worse, while a bare spot in a cavity often needs a different rack position.
How Should an E-Coat Line Be Set Up to Prevent Craters?
Prevention starts with even current.
A uniform surface conductivity keeps charge from crowding at a few points, so substrate quality and phosphate uniformity both count. A rectifier with a graded voltage ramp helps too. A slow rise avoids the local spark discharge that turns a patch of wet film into a crater nucleus. Bath agitation matters as well, since moving liquid and moving parts let hydrogen leave the surface instead of trapping it. Then remove the fuel. Keep the skimmer running, check the rinse stages for floating oil, and look at every lubrication point above the tank. The reviewed research adds one more item: a bath that deposits a low-resistance film, because a film with high resistance pushes voltage up locally. Log the crater pattern before you change anything. Density, location, and timing point to the bath, a rinse, or the conveyor.
Cratering on an e-coat line is a surface-tension event with an upstream cause. Track the source, hold the current even, and let gas escape before the bake. Those three habits keep the defect from repeating.